创建 CloudFront Functions
我们将创建一个 CloudFront Function,将特定路径的请求redirect到另一个路径:
/catalog/spices/ -> https://aws.amazon.com/
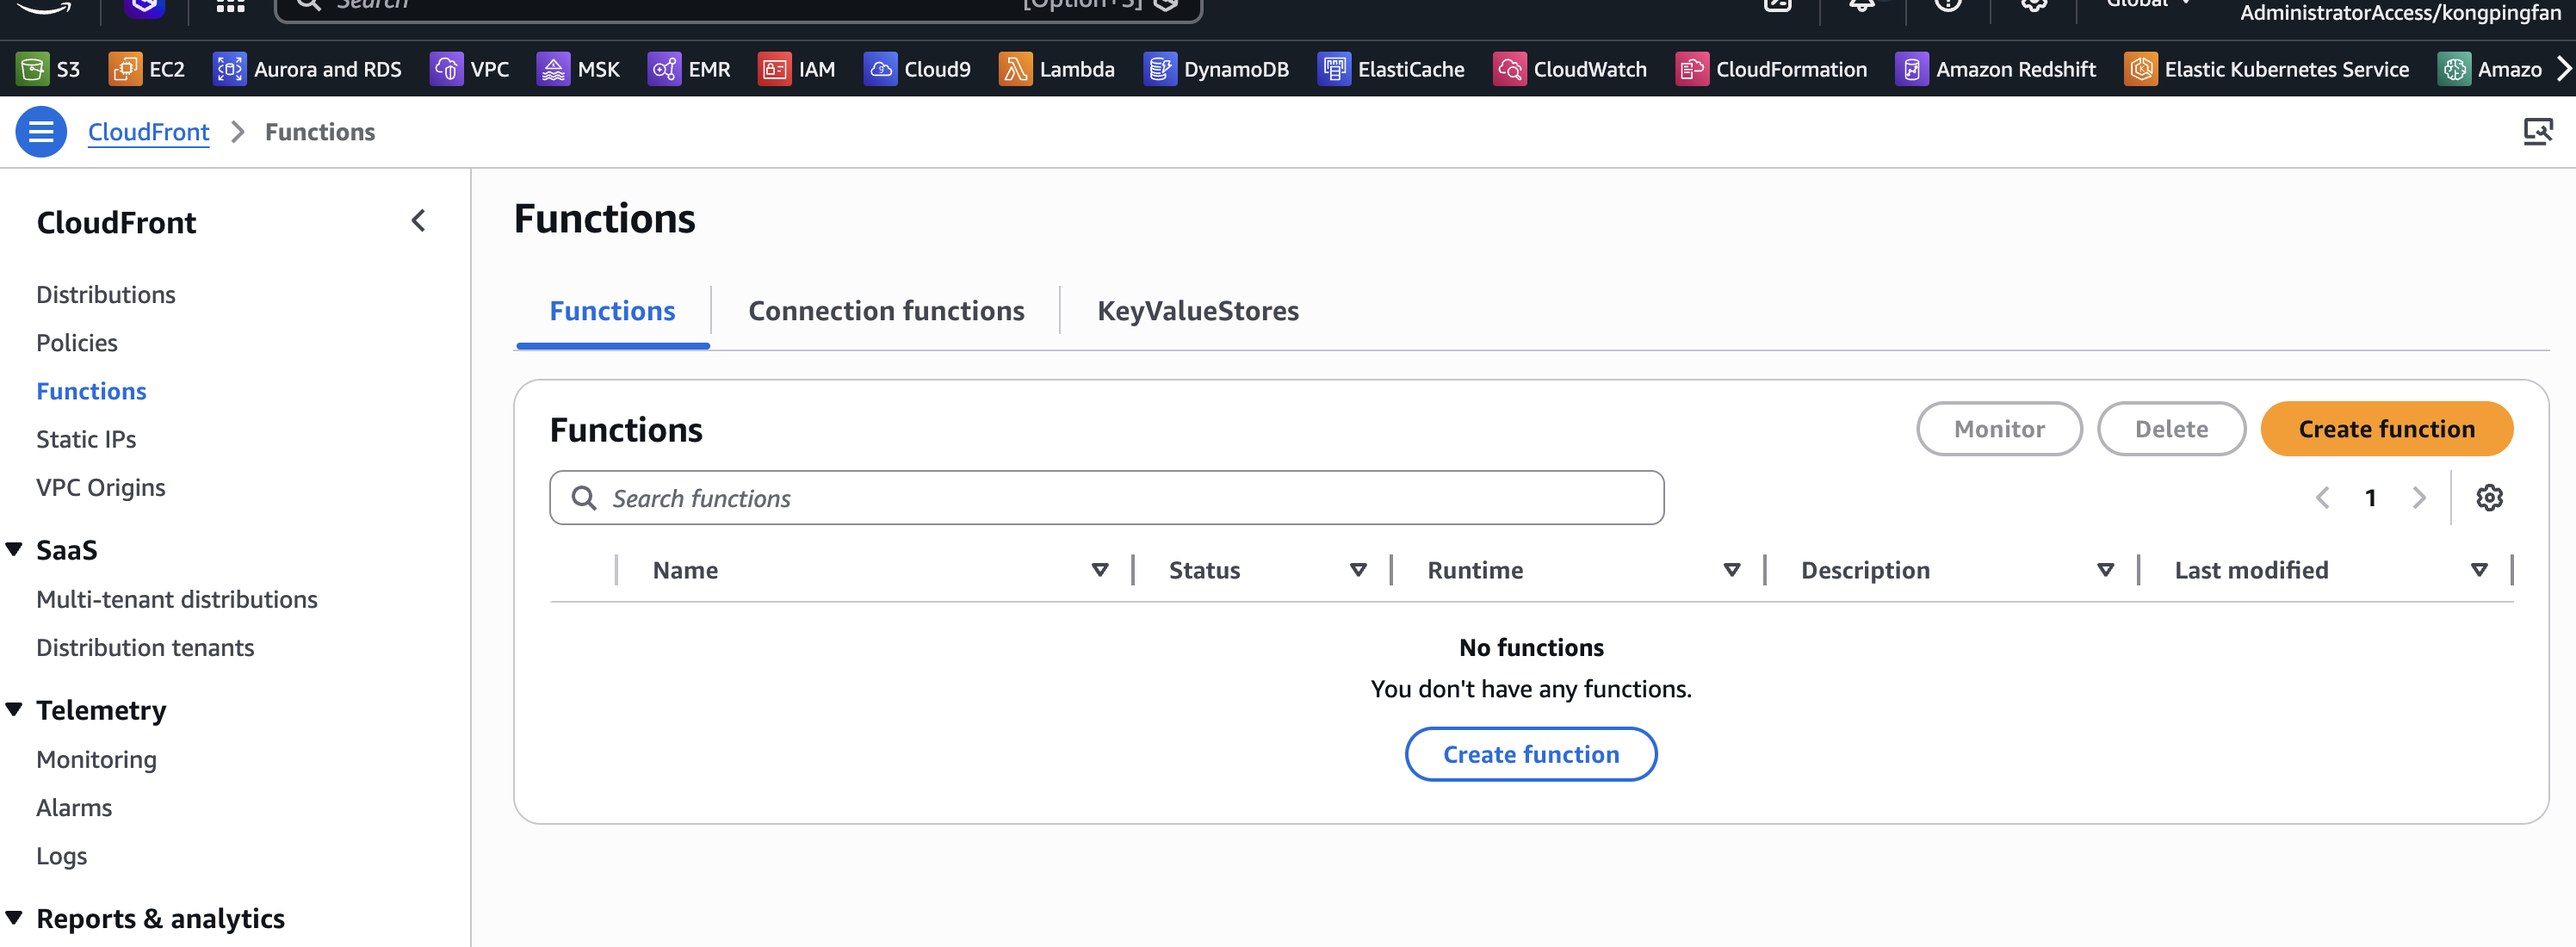
前往CloudFront ,并在左侧导航栏中选择 Functions。点击"Create function"开始操作:
设置函数的名称、描述(可选)和运行时:
- 将函数命名为
test-redirect - 将描述留空(或根据需要设置自己的描述)
- 确保选择了
cloudfront-js-2.0运行时
点击 Create Function 按钮:

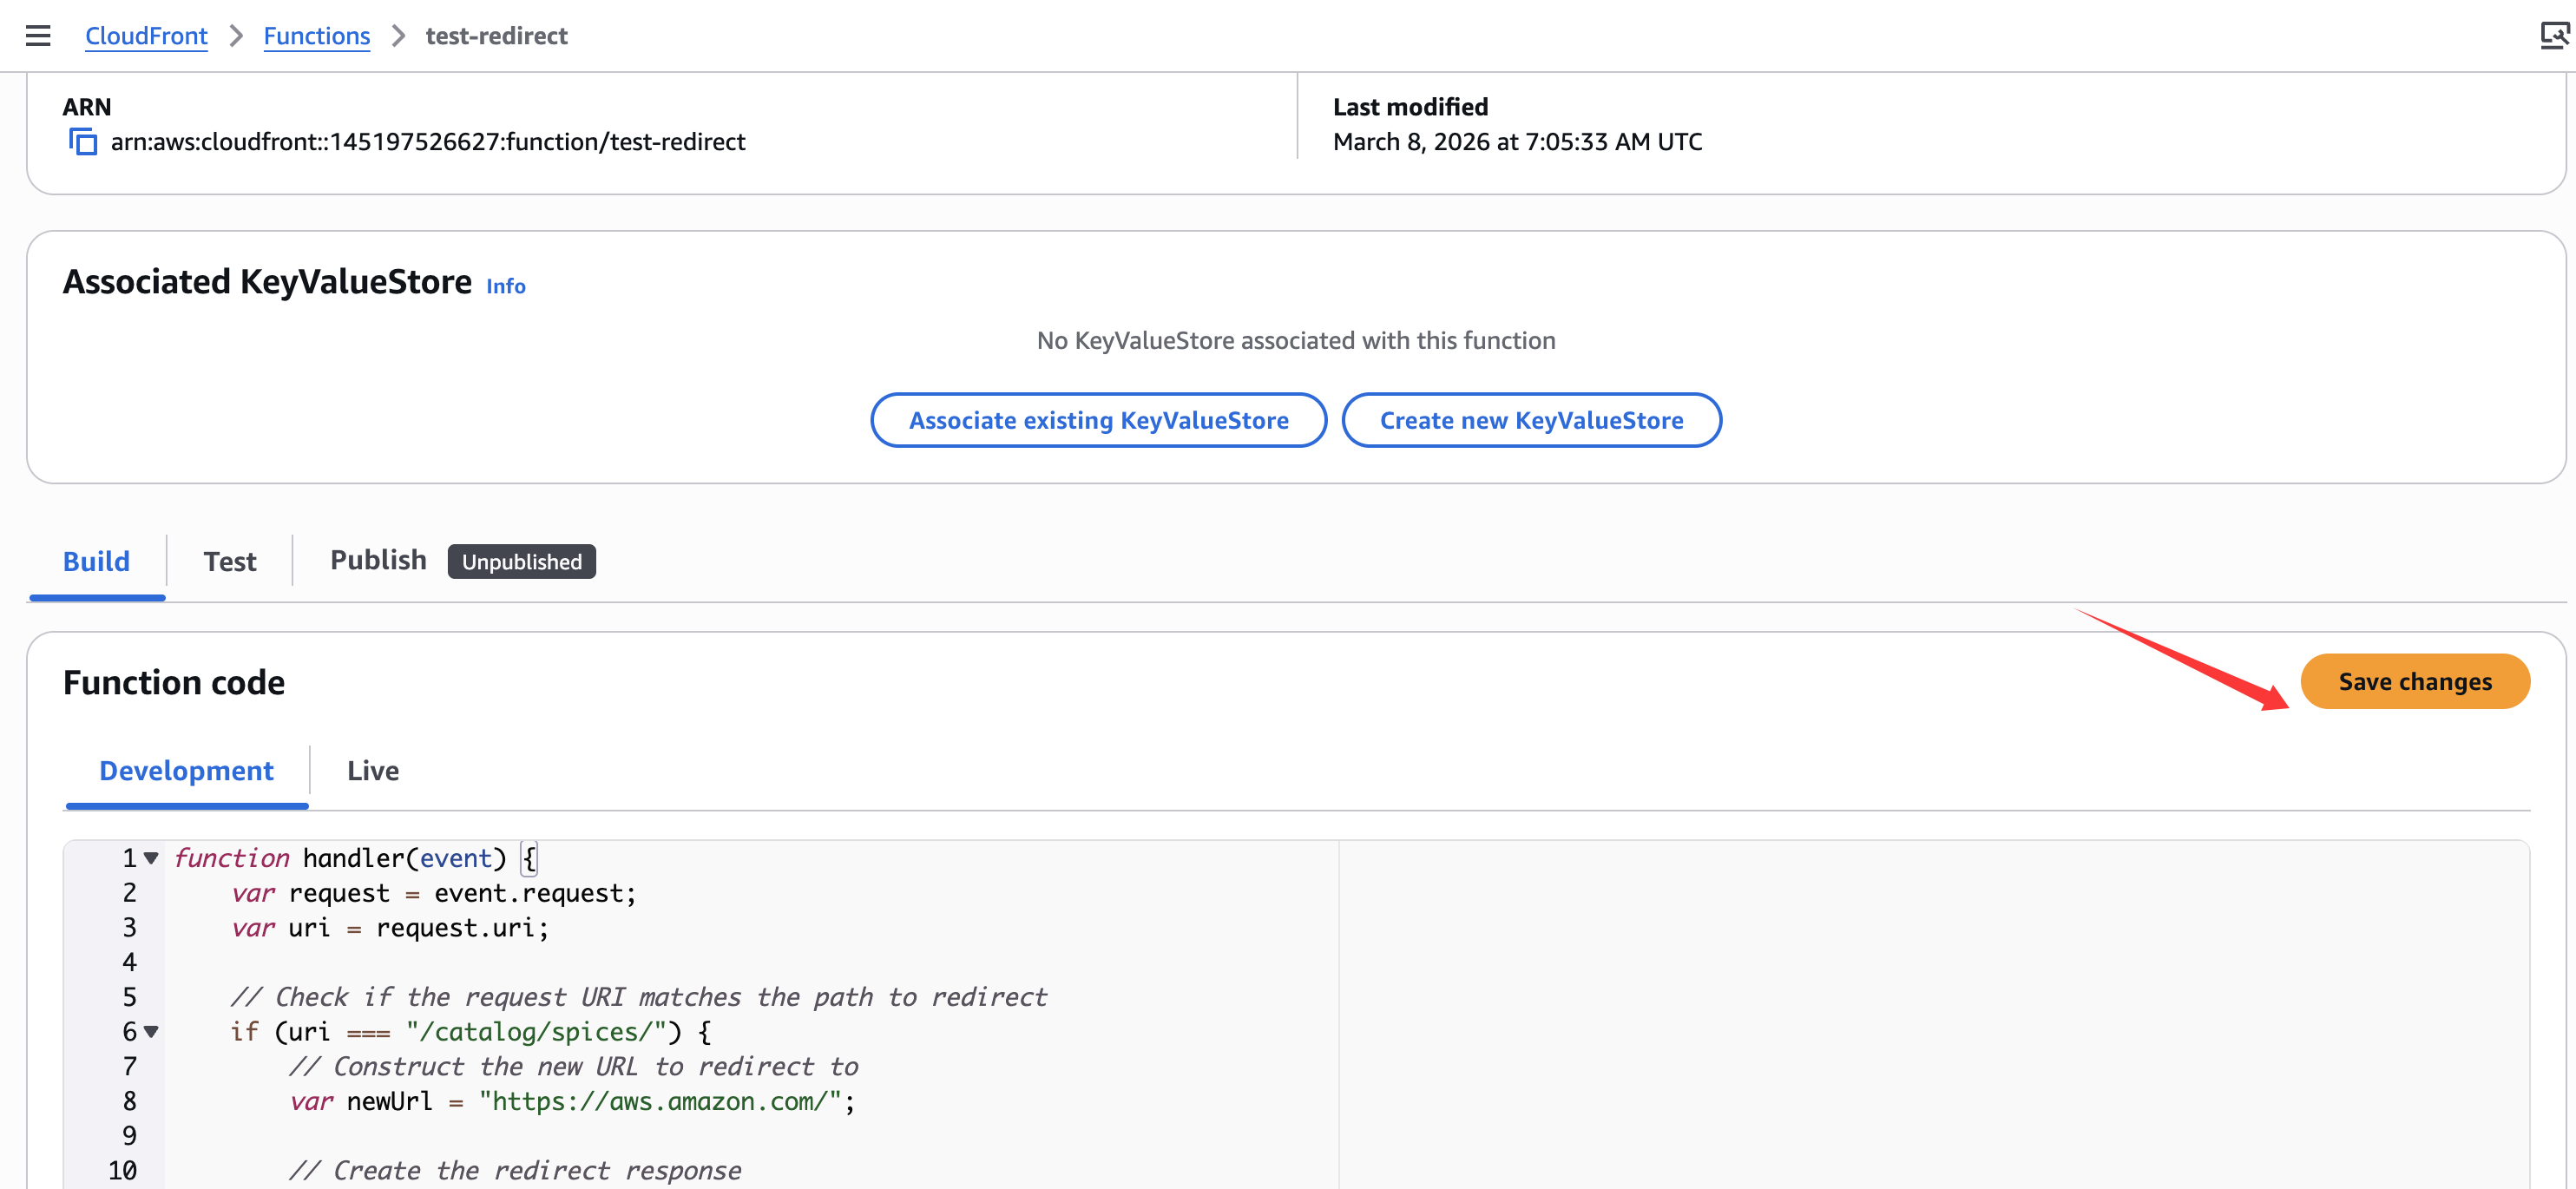
函数创建完成后,我们需要编写代码, 以下是我们 CloudFront Function 的代码要求:
- 检查 URI 是否匹配
/catalog/spices/ - 如果 URI 匹配,将新 URL 设置为
https://aws.amazon.com - 在响应中,将此值设置在
headers的location中 - 返回状态码 302
- 如果 URI 不匹配,返回未修改的响应(即不进行重定向)
可以根据上面的这些描述给AI IDE来写
如果想自己编写其他函数,请查看文档 ,其中包含示例代码。
可直接使用以下代码:
function handler(event) {
    var request = event.request;
    var uri = request.uri;

    // Check if the request URI matches the path to redirect
    if (uri === "/catalog/spices/") {
        // Construct the new URL to redirect to
        var newUrl = "https://aws.amazon.com/";

        // Create the redirect response
        var response = {
            statusCode: 302, // HTTP 302 Redirect
            statusDescription: "Found",
            headers: {
                location: { value: newUrl }
            }
        };

        // Return the redirect response
        return response;
    }

    // If the request doesn't match, return the original request
    return request;
}
点击保存:
测试函数:
-
点击右侧的test
-
对于 Event type,将其设置为 viewer request,因为这是我们希望触发重定向的阶段
-
接下来为 HTTP method 选择 GET
-
将 URL path 设置为 /catalog/spices/,以满足函数中重定向的条件
-
点击 Test function。

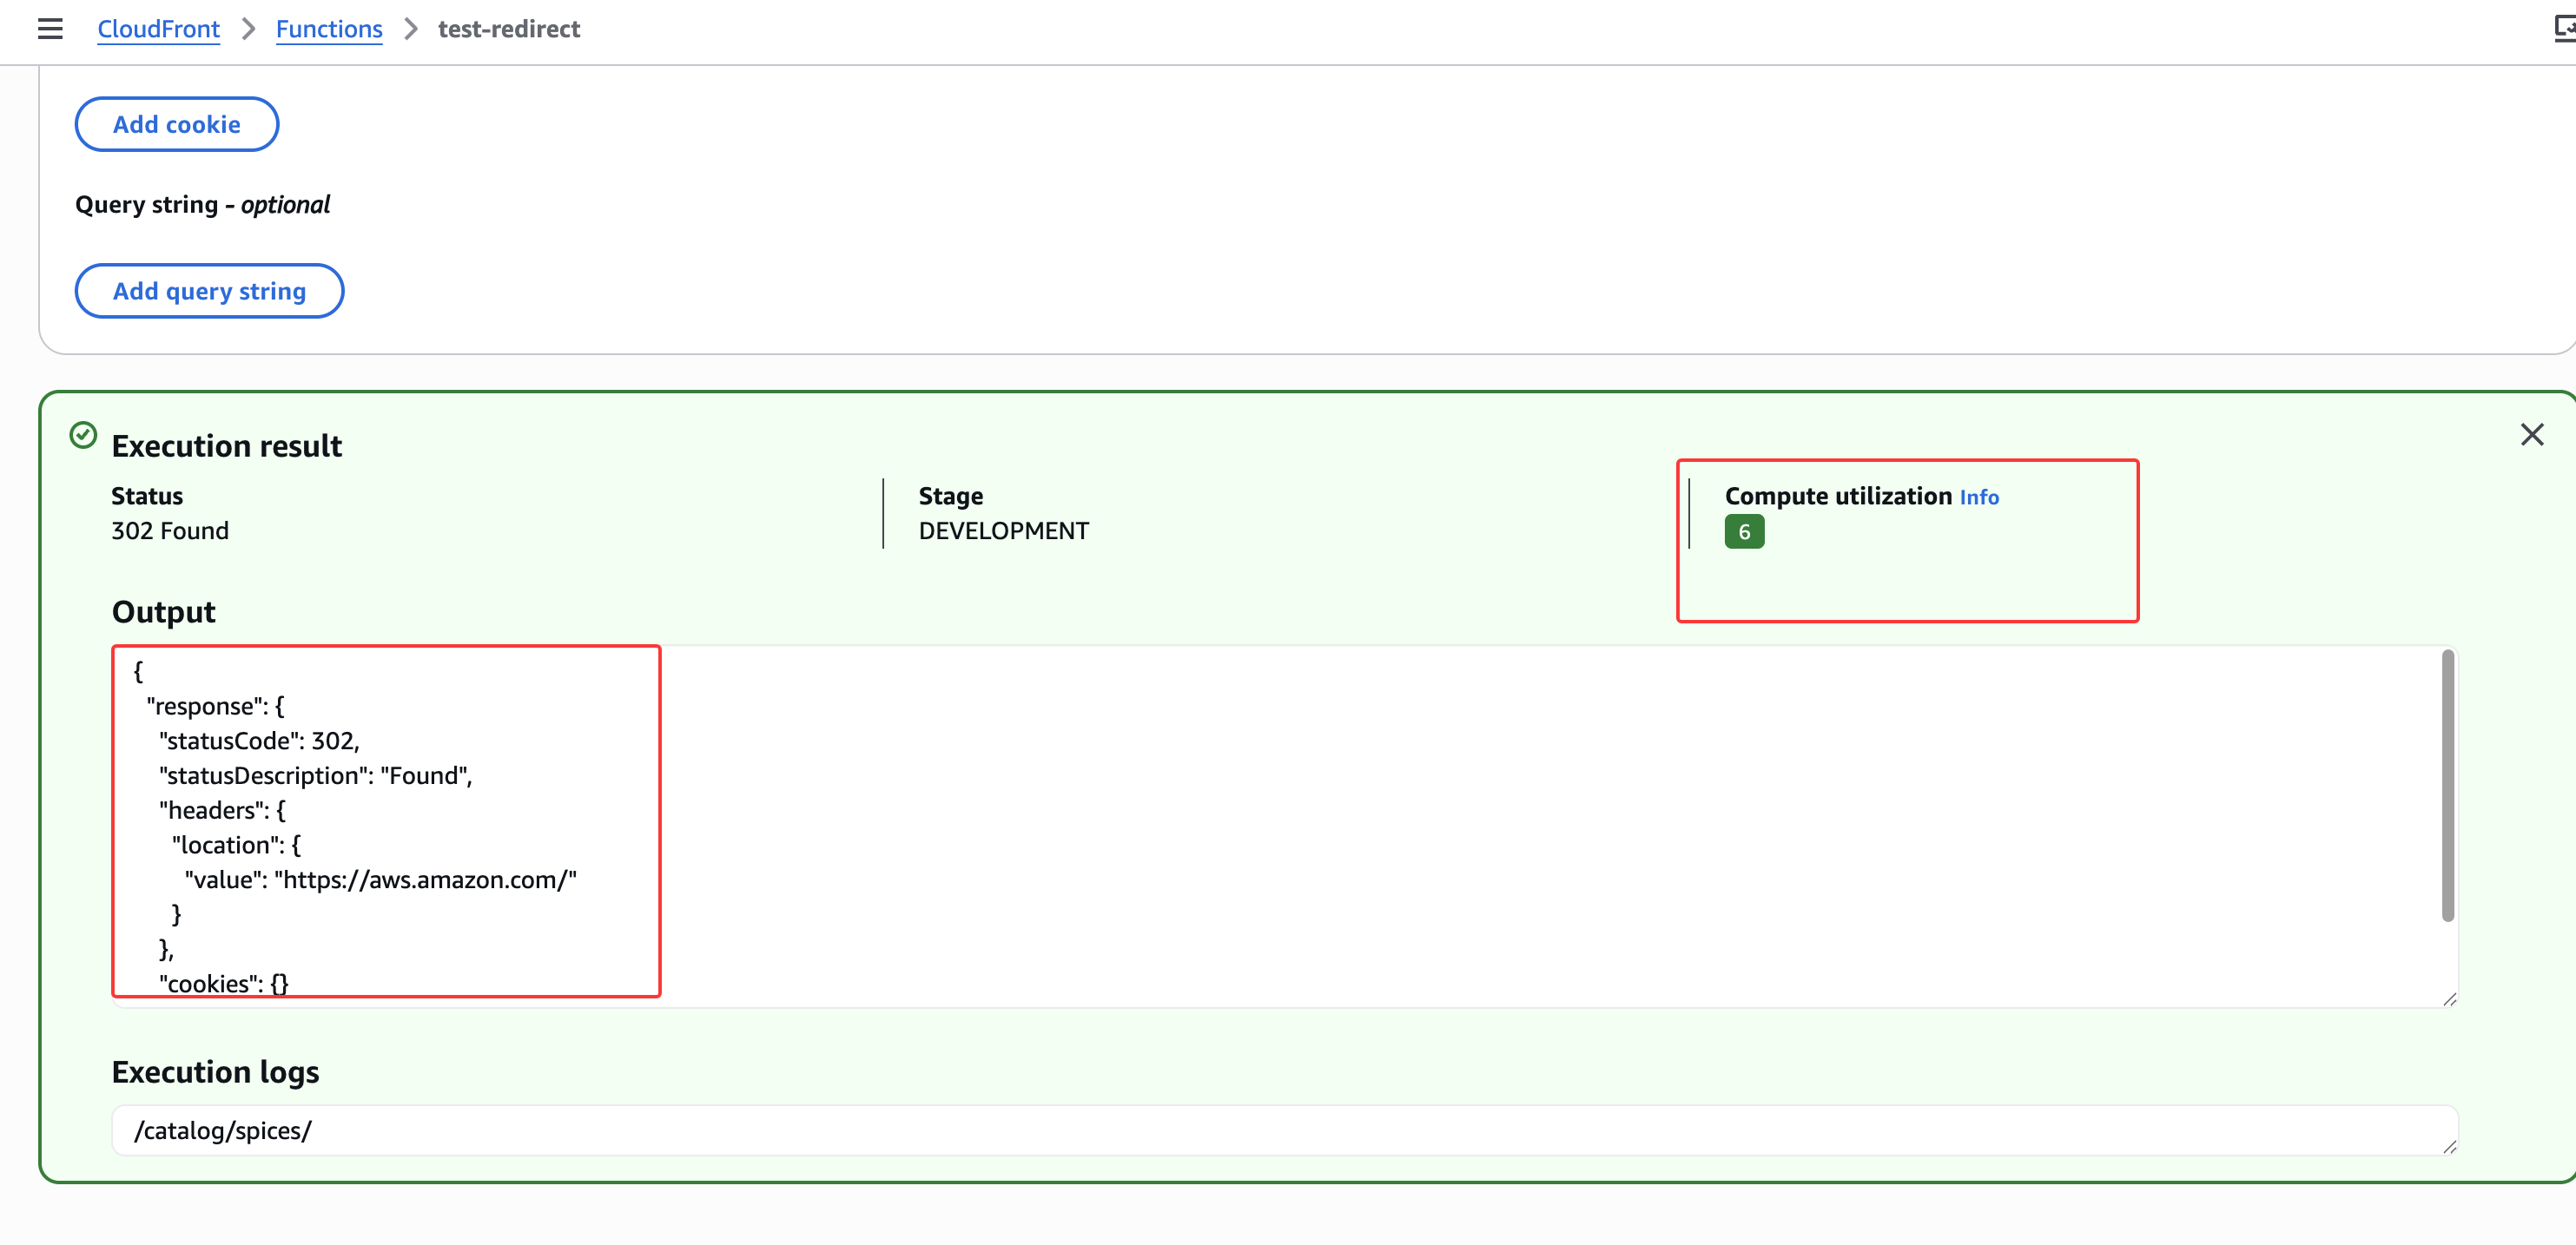
- 向下滚动并找到 Execution result。
测试应显示以下内容:
- HTTP Status 状态码(在本例中为预期的 302 重定向)
- Compute utilization(计算利用率),是一个 1-100 之间的数字。该数字是一个百分比,表示函数运行时间占其最大允许时间的比例。例如,值为 35 表示函数在最大允许时间的 35% 内完成。我们需要将此数字保持在 71 以下,以确保我们的函数不会被限流。有关计算利用率和限流的更多信息,请参阅开发者指南 。